LoRa vs LoRaWAN vs Meshtastic: choose a network for property sensors
Choose a radio architecture for outbuildings and property sensors. Compare LoRaWAN, Meshtastic and custom LoRa links by data path and failure modes.
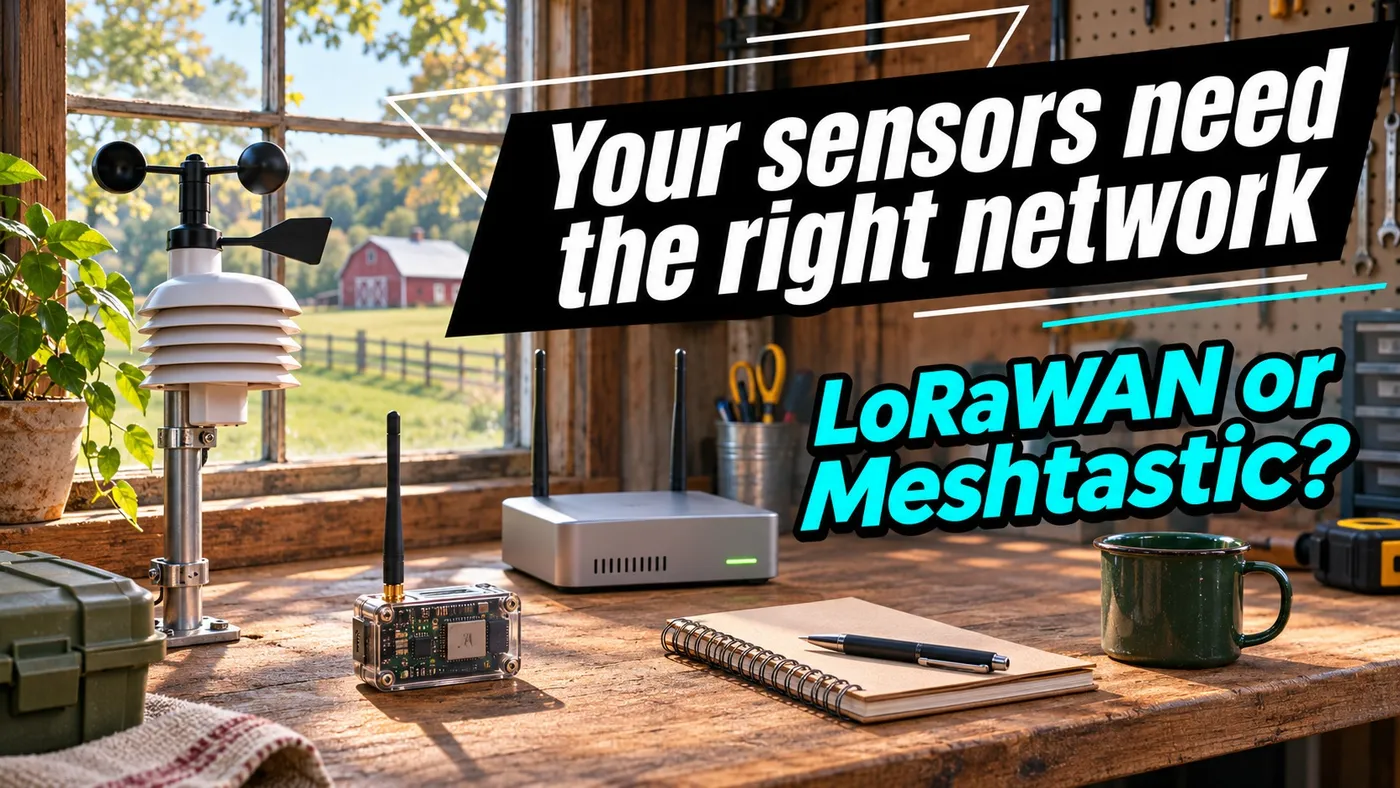
Choose a radio architecture for outbuildings and property sensors. Compare LoRaWAN, Meshtastic and custom LoRa links by data path and failure modes.
A sensor at the far end of your property needs more than a radio with an impressive distance claim. It needs a path from the measurement to the dashboard, and a way to tell you when that path has failed.
LoRa, LoRaWAN and Meshtastic describe different parts of that problem. Choose the architecture before buying a box of boards. Otherwise, a working radio experiment can leave you writing a network protocol just to put a temperature reading on a screen.
For a first installation, the useful output is a one-page architecture choice: which device measures, which component receives, how the application gets the value and when it declares the reading stale. A distance record cannot answer those questions. It does look excellent on the box.
Start with the reading you need
Take a workshop temperature sensor as a design example. Suppose the application needs one reading every ten minutes and an indication when no recent reading exists. That interval is an example requirement, not a recommendation for every sensor or a prediction of battery life.
Write down where the sensor will sit, where power is available, where a receiver could be mounted and what consumes the data. A phone showing a message and Home Assistant storing a numeric measurement are different deliverables.
For a door alarm or pump controller, also define the consequences of a missed packet. A radio sensor is not automatically suitable for a protective control loop. Keep critical protection local to the equipment and use remote telemetry for supervision unless the complete control system has been designed for the risk.
LoRa is the radio layer, not a complete sensor service
A board advertising LoRa support does not establish which application protocol it speaks. Two devices can use compatible radio hardware while running software that cannot interpret each other’s packets.
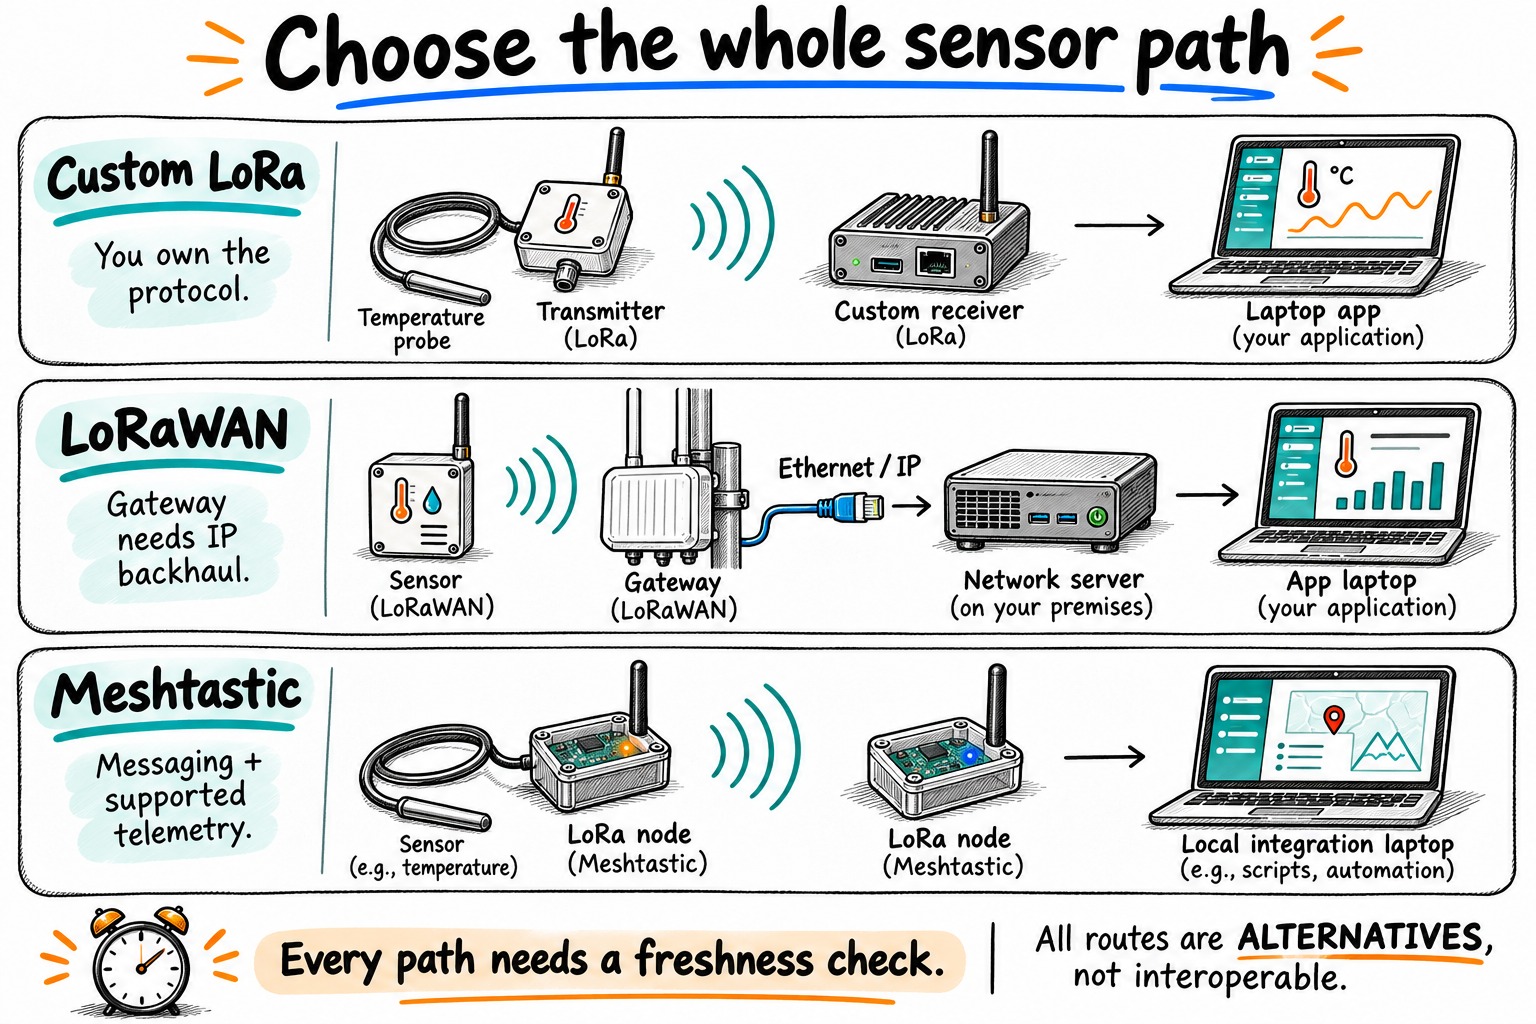
A custom LoRa link can suit a small experiment with one transmitter and one receiver. The project then owns device identity, payload format, duplicate handling, security, retries and the bridge into the application. Decide whether building those pieces is the purpose of the project or work you would rather avoid.
For the example temperature reading, a useful application record includes a stable sensor identifier, value, unit, sequence counter and reception time. If the sensor also supplies a measurement timestamp, track clock quality separately. These are design suggestions for your integration, not a universal LoRa packet format.
LoRaWAN provides a sensor-network architecture
In a typical LoRaWAN deployment, end devices transmit to gateways, which forward packets over an IP backhaul to a network server. Application processing sits beyond that network layer. Multiple gateways can receive the same uplink; the network server handles duplicate copies. The Things Network architecture guide describes those roles.
This is not the same as nearby sensors relaying one another’s packets in a conventional mesh. Check the architecture supported by the actual devices rather than assuming every product containing a LoRa chip can relay traffic.
A local deployment can keep the server and application on your property. ChirpStack is an open-source LoRaWAN network server supporting private networks and integrations. You still need working gateway-to-server connectivity, compatible device profiles and payload decoding. Running the server locally removes a remote-service dependency; it does not remove the server’s own power and maintenance requirements.
Watch the LoRaWAN architecture background
Johan Stokking’s English-language fundamentals lesson is paired with the official Things Network course, including its architecture and device-class chapters. It is background for the LoRaWAN path, rather than a current Meshtastic setup guide. Local-server operation still needs its own deployment and outage checks.
Meshtastic starts with messaging and can carry telemetry
Meshtastic is useful when people need off-grid messages and you also want supported sensor readings in that environment. Its telemetry module documentation lists supported measurements and sensors. Check that list against the firmware and board you intend to use; a connector labelled I2C does not guarantee support for any attached sensor.
For a dashboard, identify which receiving node and local integration will deliver the readings. MQTT can be part of that bridge, but adding a broker does not make Meshtastic compatible with LoRaWAN. Public messaging traffic and your telemetry also compete for finite airtime, so avoid using fast polling as a substitute for designing a sensible reporting interval.
If your immediate goal is just to establish an offline message path, use our two-node Meshtastic test first. This comparison addresses what happens after you decide the readings must become application data.
Choose by the system you want to maintain
| Requirement | Starting point to evaluate | Work you still own |
|---|---|---|
| One bespoke sensor and a learning project | Custom LoRa link | Protocol, security and application bridge |
| A fleet of compatible sensor devices | LoRaWAN | Gateway coverage, provisioning, decoding and server operation |
| Human messaging plus supported telemetry | Meshtastic | Radio configuration, supported sensors and ingestion path |
| High-rate media or camera video | Another network technology | Link capacity, power and installation |
The number of nodes alone is not the deciding factor. A handful of commercially supported LoRaWAN sensors may be easier to operate than several custom firmware variants. Conversely, running a full sensor-network backend can be unnecessary if the experiment is specifically about learning a simple radio link.
Avoid designing around a record distance. Terrain, buildings, antenna placement, regional parameters and the chosen radio settings affect a real link. Verify equipment and operating requirements for your jurisdiction before transmitting. Keep the comparison grounded in an installation you can actually maintain.
Write the choice as a maintenance decision
For the workshop example, reject any option whose complete ingestion path you cannot describe. A supported LoRaWAN sensor is worth evaluating when you want provisioned sensor devices and can maintain a gateway plus server. Meshtastic deserves a trial when human messaging is already a requirement and the firmware supports the sensor. Choose a custom LoRa link when owning the packet protocol is an intentional part of the project.
Keep a short decision record:
Measurement and unit:
Reporting interval and stale-data deadline:
Transmitter / receiving component:
Application ingestion and decoder:
What still runs without internet:
What stops when the receiver or server loses power:
Reason for rejecting the other paths:
Do not put private channel keys or device activation secrets in this record. The point is to make the next repair understandable, not to create a new credential leak.
Test the whole path, including silence
Build one sensor-to-dashboard path before expanding. Change the physical measurement and confirm that the stored reading changes with the correct unit and sensor identity. Then remove internet connectivity while leaving the local network powered. Record which parts still work; do not assume a locally mounted gateway uses only local services.
Next, turn the sensor off. The dashboard should eventually show stale or unavailable data rather than displaying the last temperature as if it were current. Choose that timeout from the expected interval and tolerated loss, then test it deliberately. Turn the receiving component off in a separate trial to distinguish a sensor problem from an ingestion outage.
Keep a brief commissioning record: placement, firmware, region, reporting interval, data fields, power source and observed gaps. There are no invented delivery percentages here. Expand only after the first path gives you both useful readings and an honest indication of missing data.
Keep reading
Related guides
Self-host Postiz on an OptiPlex: wake, publish, then power off
Build a Docker social scheduler on an i5 OptiPlex with 16 GB RAM: AI submissions, BIOS wake, verified publishing and guarded shutdown without a VPS.
AI Energy Management With Home Assistant and EMHASS
Use EMHASS with solar forecasts, dynamic tariffs, EV charging constraints and deterministic Home Assistant fallbacks.
Build an Offline Multimodal Voice Assistant for Home Assistant
Build a local Home Assistant voice pipeline with wake word, speech, Gemma 4 context, allowlisted actions and spoken responses.