Your First Home Server Setup: What to Do in the First Week
A practical first-week home server setup plan covering networking, Docker, storage, updates, backups, and safe remote access.
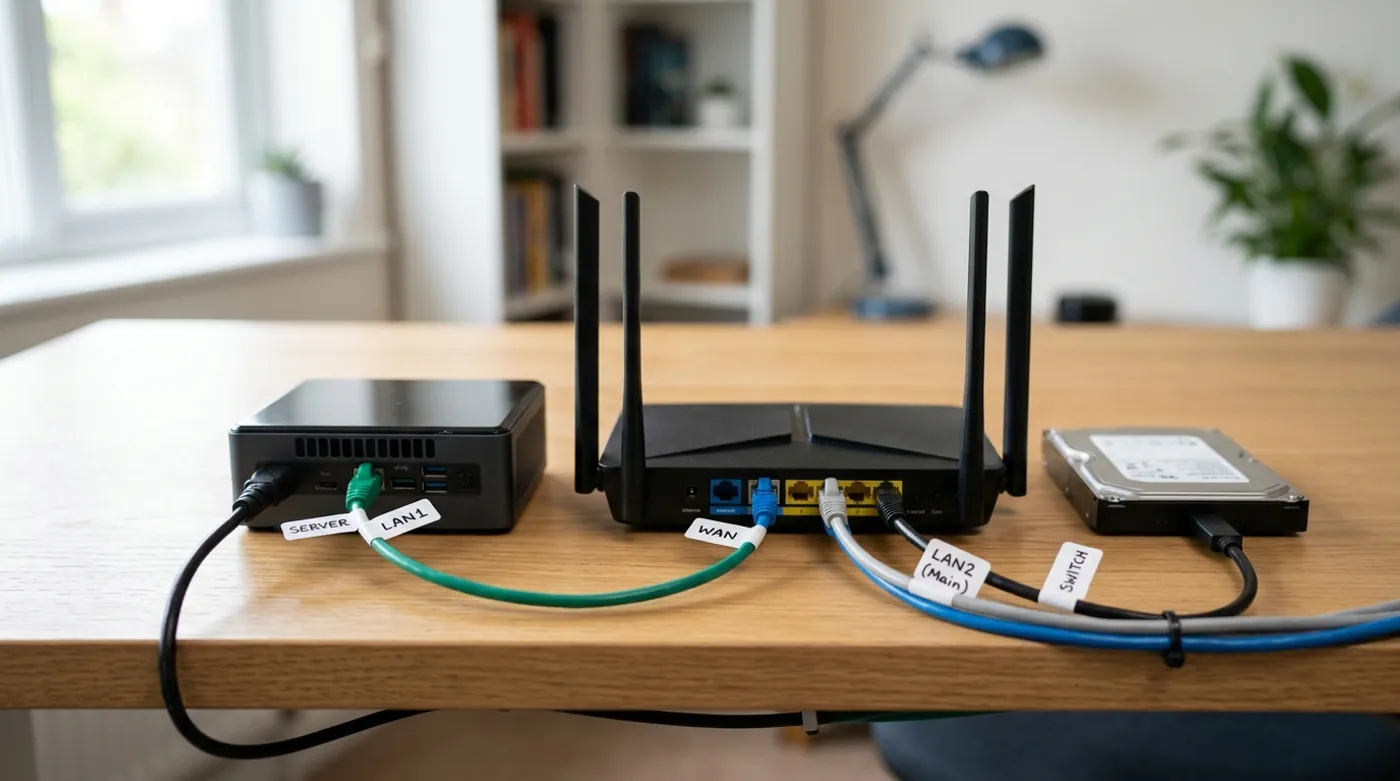
A practical first-week home server setup plan covering networking, Docker, storage, updates, backups, and safe remote access.
The easiest way to ruin a first home server is to install twelve apps before the machine even has a stable IP. It feels productive for about one evening. Then a disk mount changes, a container loses its volume, or you forget which dashboard owns which port.
Spend the first week making the server boring. Fixed address, clean storage paths, SSH, Docker, one or two services, and backups before the fun stuff. A home server running ten containers and zero backups is not infrastructure yet. It is a weekend project holding your data hostage.
Day 1: Install the OS and Fix the Network Identity
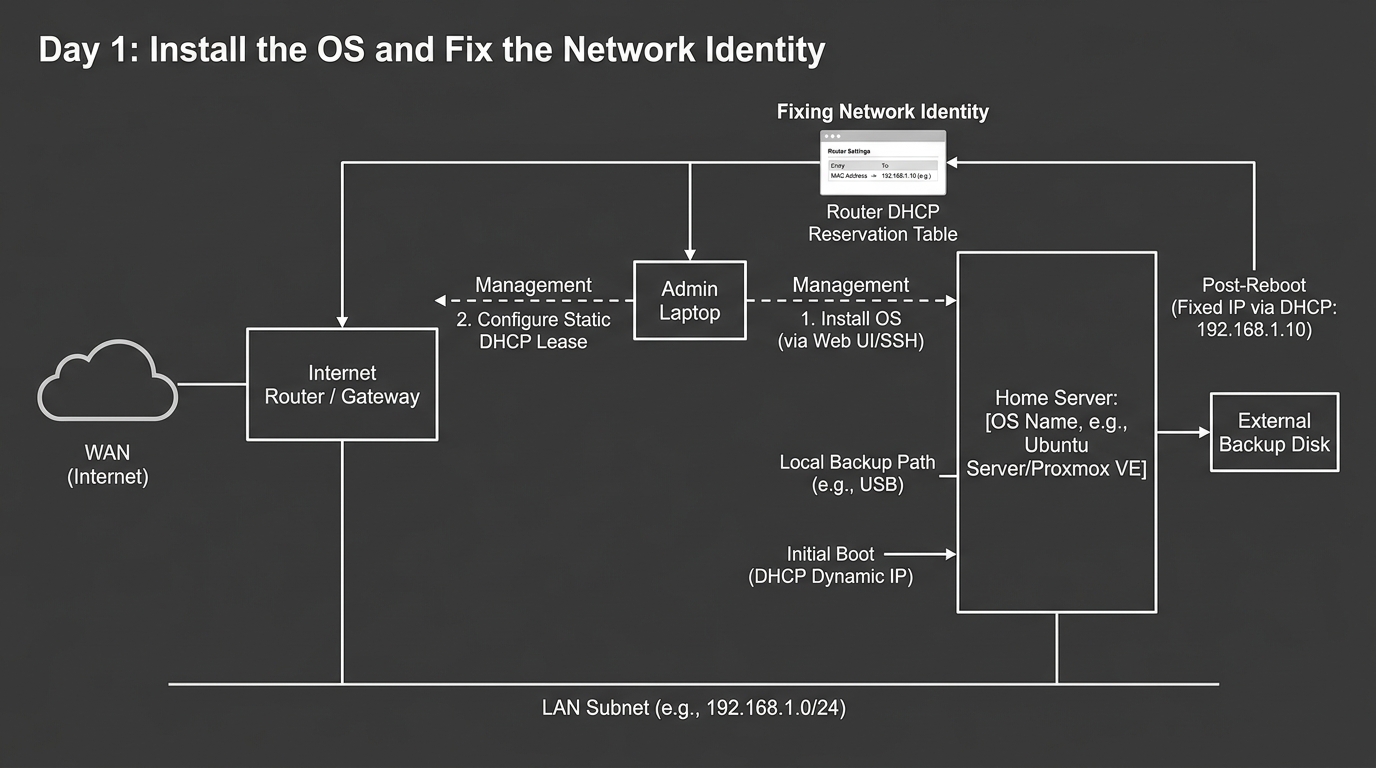
Install a conservative server operating system such as Debian or Ubuntu Server. Give the machine a hostname that will still make sense later, such as homeserver-01, storage-01, or lab-01.
In your router, create a DHCP reservation:
- Server:
homeserver-01 - IP address:
10.10.0.20 - Gateway:
10.10.0.1 - DNS: router, Pi-hole, AdGuard Home, or another trusted resolver
Avoid manually setting a static IP inside the OS unless you already have a reason. DHCP reservations keep addressing centralized and reduce the chance that a future subnet change strands the server.
Then confirm basic access:
ssh renan@10.10.0.20
ping 10.10.0.1
ping example.com
If DNS fails, fix that before installing apps. A server that cannot resolve updates cleanly will become frustrating fast.
Day 2: Create a Storage Layout You Can Explain
Do not let every tutorial choose a different directory for you. Create one convention and stick to it:
sudo mkdir -p /srv/stacks
sudo mkdir -p /srv/appdata
sudo mkdir -p /srv/storage
sudo mkdir -p /srv/backups
Use /srv/stacks for Docker Compose files, /srv/appdata for persistent container data, and /srv/storage for files you intentionally store. If you add a second disk, mount it by UUID in /etc/fstab and test a reboot immediately.
The recovery question should be simple: if the OS disk dies, what folder must be restored to rebuild the services? If you have to think for more than a minute, the layout is already too messy.
If your first-week setup depends on an external SSD, USB-C dock, or USB-to-SATA adapter, treat the cable as part of the storage path. USB-C Explained for Everybody covers why a cable that charges fine can still be the wrong choice for backup or migration work.
Day 3: Install Docker, Then Start Small
Docker is useful because it makes services repeatable. It does not make storage and networking disappear. Start with one harmless service, such as local DNS or a status page, before adding photo backup, media, or automation.
A good first stack directory looks like this:
/srv/stacks/adguard-home/
  compose.yml
  README.md
The local README.md does not need to be fancy. It should record the service URL, volumes, ports, backup needs, and the command that starts it. Future you will forget. Everyone forgets.
Day 4: Decide What Stays LAN-Only
Most services should begin LAN-only. That includes dashboards, admin interfaces, file managers, photo servers, monitoring tools, and home automation panels. If you need remote access, add a VPN or private tunnel later.
A sane first-week rule is:
- LAN access: allowed
- admin panels from trusted devices: allowed
- direct public port forwards: blocked
- UPnP on the router: disabled
- SSH password login: disabled after keys work
If you expose a reverse proxy too early, you multiply the number of things you now have to care about: TLS, authentication, patching, logs, rate limits, and the app’s own security posture. That is a lot for week one.
Day 5: Add Backups Before Adding More Apps
Backups should cover both files and application state. A photo directory without the Immich database is only half a restore. A Docker Compose file without the app volume may be useless.
Start with three backup targets:
- configuration and compose files
- application data directories
- user data such as photos, documents, and media
Use a separate disk, NAS, or another machine. If everything is on the same server, a failed disk, accidental delete, or bad command can take the original and the backup together.
Day 6: Write the Local Runbook
Create one local document called SERVER.md or keep a private notes page with:
- server IP and hostname
- OS version
- disks and mount points
- Docker stack locations
- backup commands
- restore order
- router reservations
- remote access method
This is not bureaucracy. It is the difference between a recoverable home system and a pile of clever containers.
Day 7: Reboot and Prove It Comes Back
Restart the server. Restart the router. Restart the switch if you have one. Then verify:
- The server keeps the same IP address.
- SSH still works.
- Docker services start automatically.
- Mounted disks come back correctly.
- Backups still run.
- No unexpected ports are open.
- Important apps are reachable from the LAN.
Only after this should you add heavier workloads like Immich, Jellyfin, Home Assistant, Frigate, Nextcloud, or a full NAS stack. The first week is not wasted time. It is the part that keeps the second week from becoming cleanup.
For a broader project roadmap after the first week, use What to Do With an Old PC: 12 Home Server Projects That Actually Matter to choose the next service instead of installing every interesting container at once.
Keep reading
Related guides
How Much Hardware Does a Private ChatGPT Actually Need?
Size CPU, RAM, VRAM and storage for Open WebUI, Ollama, local RAG and multiple users without buying an oversized AI server.
Local RAG With Open WebUI: Chat With Documents Without the Cloud
Build an offline Open WebUI RAG workflow for PDFs with local embeddings, practical chunking, evidence checks and private storage.
Open WebUI on Windows: Build a Private ChatGPT With Ollama
Run Open WebUI and Ollama on Windows with persistent storage, LAN access controls, backups and no accidental internet exposure.