Build a Cheap Home Server Under $200 Without Buying Junk
A practical parts-first plan for building a low-cost home server that can run storage, photos, media, and local services.
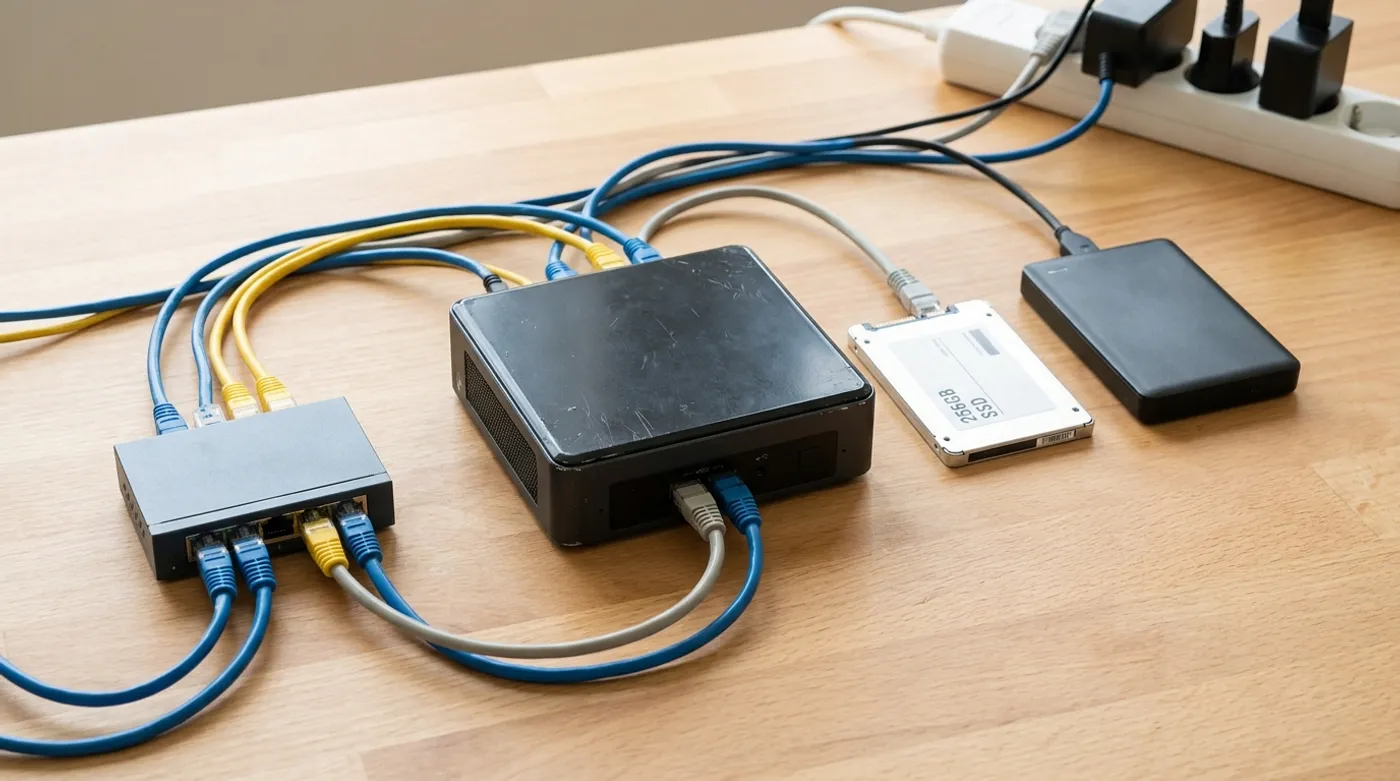
A practical parts-first plan for building a low-cost home server that can run storage, photos, media, and local services.
A cheap home server only works if you resist the urge to build a tiny data center. The good version is boring: it stays on, sips power, holds data in predictable places, and runs the few services you actually use. The bad version is an old gaming tower with six random disks, no backup, and a power bill that quietly eats the money you thought you saved.
Under $200 is realistic, but only if you buy like a sysadmin, not like a PC builder. Used business hardware, enough RAM, one sane boot SSD, and a storage plan beat a flashy case every time.
What Can a Cheap Home Server Actually Replace?
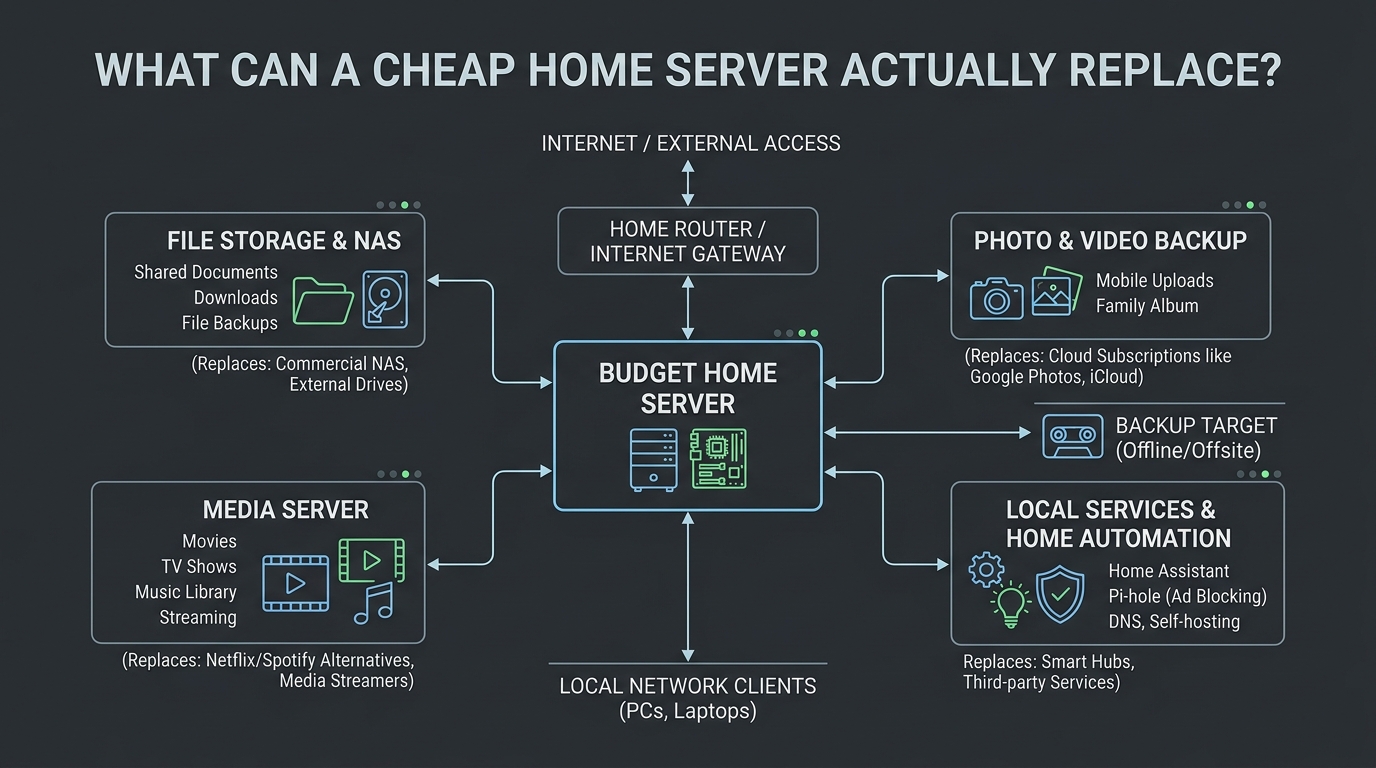
A budget server can replace several small subscriptions, but only when the workload is naturally local:
- file sync for documents and family media
- photo backup with Immich or another self-hosted gallery
- local DNS and ad blocking
- Home Assistant
- a small media library
- backups for laptops and phones
- a test box for Linux, Docker, and networking practice
It is not a magic subscription shredder. Remote collaboration, public sharing, off-site disaster recovery, and account recovery are still easier with managed cloud services. A home server makes the most sense when the data starts inside your house and the people using it are already on your LAN.
The Best Cheap Hardware Path
Used office desktops are the boring winner. A small Dell OptiPlex, Lenovo ThinkCentre, or HP EliteDesk with an Intel Core i5 from the 8th generation or newer gives you enough CPU for Docker services, often enough media support for light transcoding, and far better idle power than a retired gaming rig.
For a first build, aim for this baseline:
- 4-core CPU or better
- 16 GB RAM
- one SSD for the operating system
- one or two larger drives for data
- wired gigabit Ethernet
- USB boot disabled after installation
- BIOS set to power back on after outage
The common mistake is spending the whole budget on the box and leaving nothing for storage, cables, or backup media. A home server with one mystery hard drive and no restore plan is not a storage solution. It is a single point of failure with a web UI.
A Representative Under-$200 Build
Prices move, but the shape of the build is stable:
- used mini PC or small-form-factor desktop: about $90 to $140
- 16 GB DDR4 RAM if not already included: about $20 to $35 used
- 500 GB SATA or NVMe SSD for the OS: about $25 to $40
- one used or entry NAS drive for bulk storage: variable
- short Ethernet cable and spare power strip: about $10
If you already have an old desktop, the cheapest server may be the machine you own. The catch is electricity. A retired gaming PC can be free to buy and expensive to leave on. If it idles at 80 watts, it may cost more over time than a used business mini PC idling under 15 watts.
If the machine is already sitting under your desk, use the project list in What to Do With an Old PC: 12 Home Server Projects That Actually Matter to decide whether it should become storage, Home Assistant, camera recording, backups, or just a temporary lab box.
Operating System and Storage Layout
Use a simple Linux server install, Debian, Ubuntu Server, or a NAS-focused system if you prefer a UI. The first storage layout should be understandable:
- OS SSD mounted as
/ - data drive mounted as
/srv - Docker compose files in
/srv/stacks - application data in
/srv/appdata - user files in
/srv/storage - backups mounted separately, not inside the same folder tree
For Docker, keep each service in its own directory:
/srv/stacks/
  immich/
  home-assistant/
  caddy/
  adguard-home/
That layout matters when you restore. You should be able to copy a service directory, restore a database dump, run docker compose up -d, and know what is supposed to happen.
Network Setup for a First Server
Give the server a DHCP reservation instead of a random lease. For example:
- Server IP:
10.10.0.20 - Router:
10.10.0.1 - Local DNS:
10.10.0.1or10.10.0.20 - Admin access: SSH from your main workstation only
Do not expose the server directly to the internet on day one. Start with LAN-only services. Add remote access later through a VPN, a private overlay network, or a carefully configured reverse proxy after you understand what is running.
What Should You Buy First?
For this post, the hardware is part of the project. These are the product categories worth researching before affiliate links are added:
- Used Dell OptiPlex Micro, Lenovo ThinkCentre Tiny, or HP EliteDesk Mini
- 16 GB DDR4 SODIMM or desktop RAM matching the chosen machine
- 500 GB SATA SSD or NVMe SSD
- 4 TB to 8 TB NAS hard drive
- USB-to-SATA adapter for temporary migration work
- Small unmanaged gigabit switch if your router has too few ports
- Short Cat6 patch cables
- Basic UPS sized for the server and router
The UPS is easy to skip, but it is one of the few accessories that directly protects the system. Clean shutdowns matter more than RGB, cases, or rack shelves.
Be careful with USB-C docks, USB-to-SATA adapters, and external SSD cables during migrations. The connector shape does not guarantee speed or stability, so use the buying logic in USB-C Explained for Everybody before trusting a random cable with a storage job.
The Line I Would Not Cross
Do not put the only copy of important photos, documents, or backups on this box until it has survived a reboot, a pulled network cable, and a restore test. That sounds dramatic, but it is a cheap test compared with finding out during a disk failure.
The minimum I would trust is a fixed DHCP reservation, SSH key access, app data outside the OS disk, and backups on another device. Anything less is still a lab machine. Useful, but not yet a place for irreplaceable data.
Keep reading
Related guides
How Much Hardware Does a Private ChatGPT Actually Need?
Size CPU, RAM, VRAM and storage for Open WebUI, Ollama, local RAG and multiple users without buying an oversized AI server.
Local RAG With Open WebUI: Chat With Documents Without the Cloud
Build an offline Open WebUI RAG workflow for PDFs with local embeddings, practical chunking, evidence checks and private storage.
Open WebUI on Windows: Build a Private ChatGPT With Ollama
Run Open WebUI and Ollama on Windows with persistent storage, LAN access controls, backups and no accidental internet exposure.