Self-Host Immich With Docker Compose and Keep It Recoverable
Install Immich as a local-first photo server with Docker Compose, stable storage, sane networking, and a restore-friendly layout.
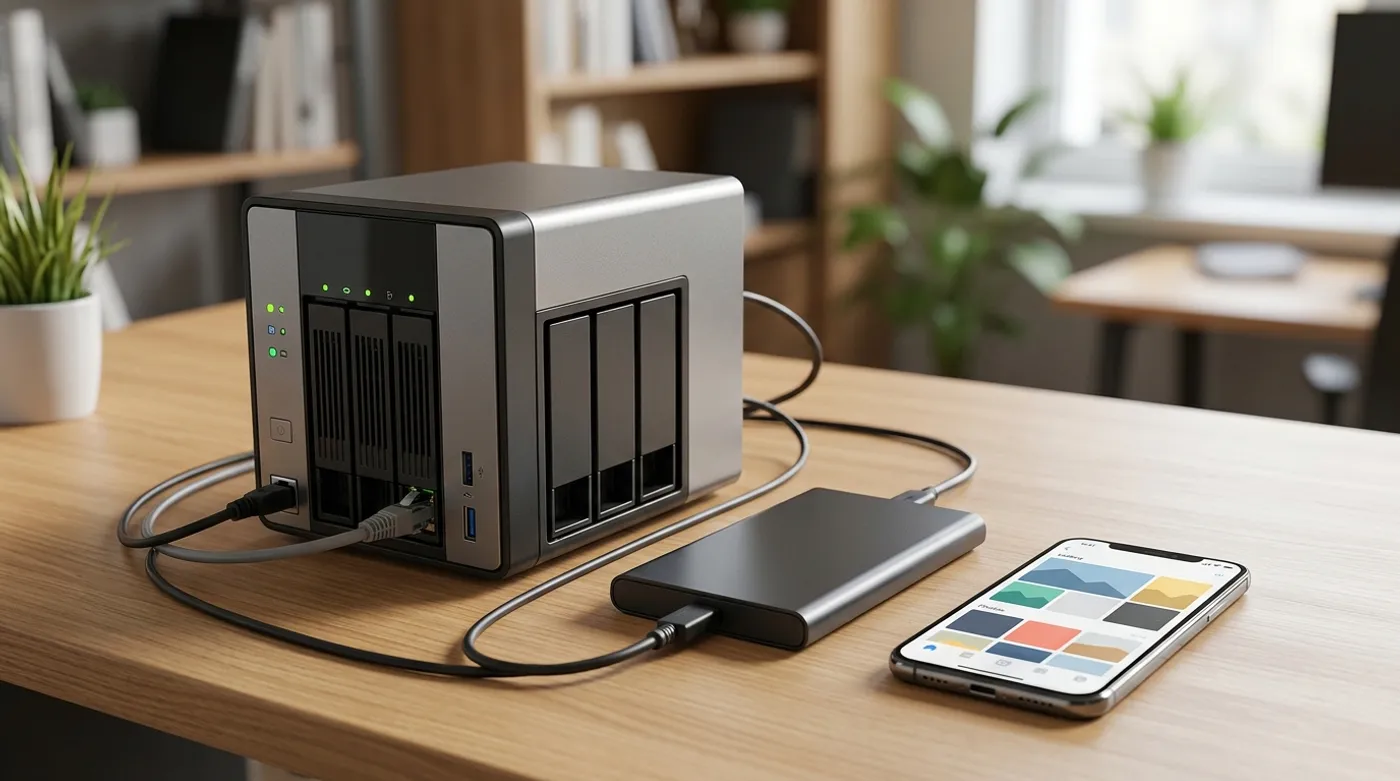
Install Immich as a local-first photo server with Docker Compose, stable storage, sane networking, and a restore-friendly layout.
Immich is one of the few self-hosted apps that can make people seriously consider leaving a cloud photo library. The phone app is good, the web UI is familiar enough, and the idea is exactly right: photos land on your hardware instead of becoming another subscription meter.
The trap is thinking the job is done when the login screen loads. It is not. Immich needs to be installed in a way you can update, back up, and restore. A photo server that cannot be recovered is just a prettier way to lose family photos.
What Immich Needs
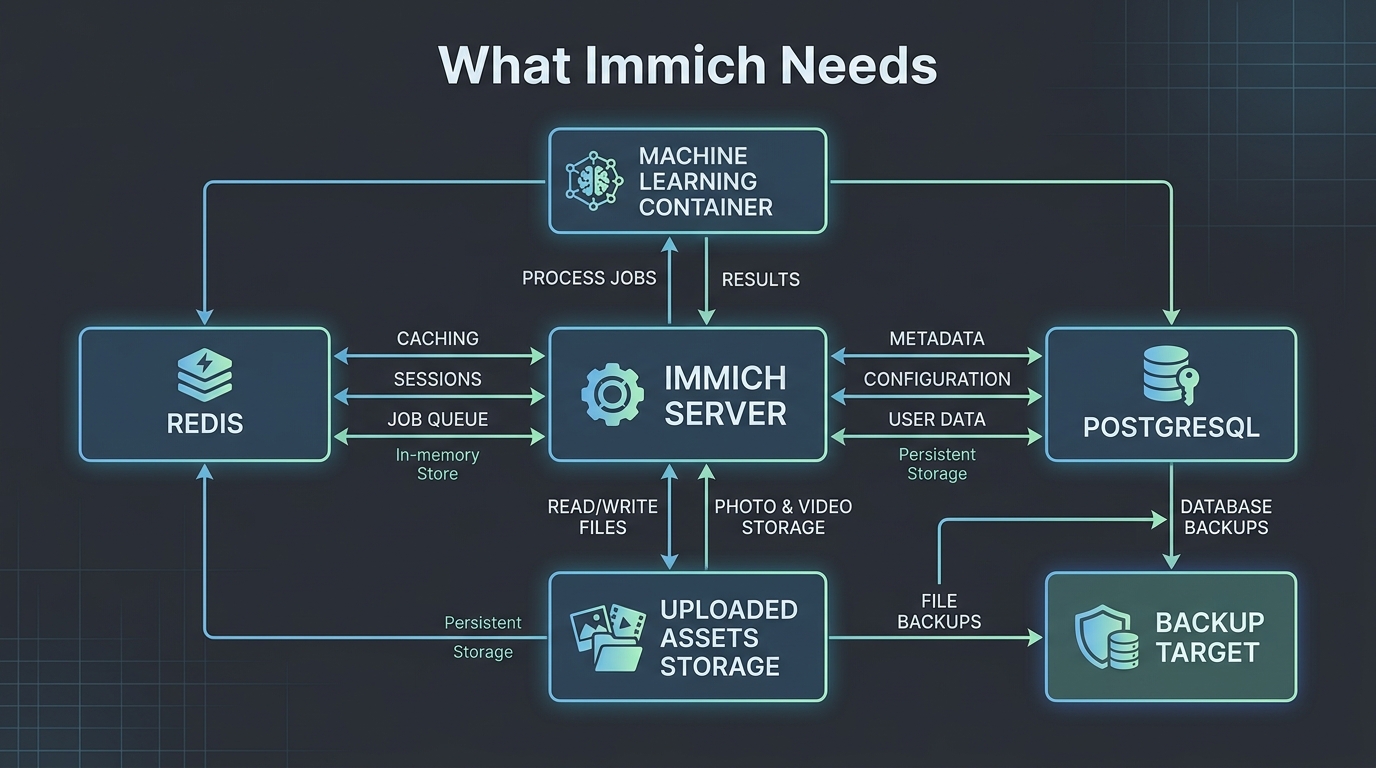
An Immich deployment is more than one container. A typical Docker Compose setup includes the Immich server, machine learning, Redis, PostgreSQL, and storage for uploaded assets. That means the backup plan has to cover files and database state, not just “the photo folder.”
Use a directory layout like this:
/srv/stacks/immich/
  compose.yml
  .env
/srv/appdata/immich/
  library/
  postgres/
  backups/
The exact official Compose file can change, so start from the current Immich documentation and keep your local changes small. Do not copy an old compose file from a forum and assume it aged well.
Network Setup
Give the host a stable LAN address:
- Server IP:
10.10.0.20 - Immich URL:
http://10.10.0.20:2283 - Optional local DNS name:
photos.home.arpa - Remote access: VPN or private overlay first, public reverse proxy only when you can maintain it
For a first install, keep Immich LAN-only. Confirm mobile backup works at home. Confirm uploads land on the right disk. Confirm the database and library paths are where you expect. Then decide whether remote access is worth the exposure.
Storage Planning
Photos grow quietly. Videos grow loudly. Put the upload library on storage with room to expand, and do not leave it trapped on a tiny OS SSD.
Before importing a large library, decide:
- where originals live
- how much free space remains
- whether thumbnails and encoded video are on SSD or HDD
- how backups handle the library
- what happens when the disk is 90 percent full
For many homes, an SSD for the system and database plus a larger hard drive or NAS share for original assets is a reasonable split. Keep it simple until you have a measured bottleneck.
First Boot Checklist
After starting the stack, verify:
- web UI loads on the LAN
- admin account is created
- phone app connects to the server URL
- one photo uploads successfully
- the uploaded file appears in the expected library path
- container restart does not lose data
- server reboot brings Immich back
Only then import a serious photo library. Bulk imports are easier to recover from when the baseline is already proven.
Common Mistakes
The biggest mistake is treating Immich like a single folder backup. The photo files matter, but so does PostgreSQL. Metadata, users, albums, jobs, and internal relationships are database-backed. Back up the database intentionally.
The second mistake is exposing Immich publicly before authentication, updates, TLS, and monitoring are ready. A private photo library is sensitive. Treat it like personal infrastructure, not a disposable demo.
The third mistake is ignoring mobile behavior. Phone backup depends on the app being able to reach the server, background restrictions, Wi-Fi conditions, and enough free storage on the server.
Use the Current Immich Compose File
Immich changes fast enough that stale compose examples are a real problem. Use the current official Docker Compose file, read the backup and restore notes for that version, and check release notes before major upgrades.
The local part you should customize is not the application architecture. It is the storage layout, DNS name, backup path, and restore notes for your server. Keep those boring and documented.
The Install Is Not Done Until Restore Works
The right Immich install is not the fastest one. It is the one you can rebuild when a disk dies, a container update goes sideways, or you move the service to better hardware.
Before importing the whole camera roll, test a tiny restore. One user, a few photos, a database backup, and a clean start on a separate path is enough to prove the workflow. If that feels annoying now, imagine doing it for the first time after a failed SSD.
Keep reading
Related guides
Immich Remote Access Without Turning Your Photos Into a Public Target
Compare VPN, private overlay networks, and reverse proxies for safe Immich access away from home without careless exposure.
Immich Backup Strategy: Protect Photos, Database, and Metadata
Design a local-first Immich backup plan that covers uploaded assets, PostgreSQL, app config, restore tests, and off-site copies.
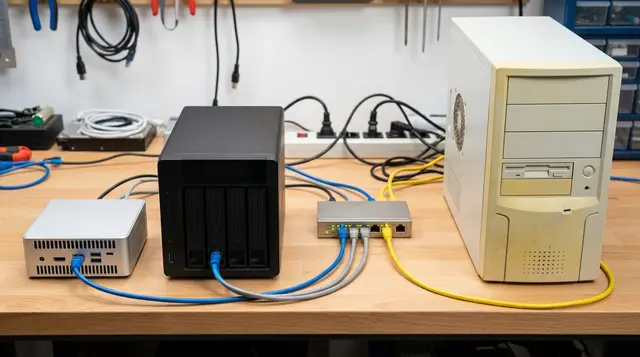
Immich Hardware Requirements: Mini PC, NAS, or Old Desktop?
Choose practical Immich hardware for photo backup, video thumbnails, machine learning, storage growth, and low idle power.